Pages

Wednesday, September 5, 2012

CornHole!!

While attending a housewarming party at our next-door neighbors, Bill and Jen's, we were introduced to one of their favorite backyard games. Though also called bean bag toss or baggo, the game most popularly called "cornhole" seemed simple enough. Once we started playing, we realized it is both more challenging than we originally thought, and alot more fun.

Let me guess; you're thinking: "Why is it called cornhole..?" Yeah, that was our first question too. It's because you throw bags filled with corn towards a single hole in the board. Get it?

The game originated as a tailgate activity, and because it is not yet popular here in Southern California, the boards are only available online, and for several hundred dollars (plus shipping) to boot. You may have figured out by now what that means; another project!! Like Bill, we decided playing with pre-made boards was nowhere near as rewarding as making your own, so here we go...

The first step was collecting and purchasing the list of hardware. That meant (2) 24"x48" plywood boards, (4) 2x4x8' members for the frame and legs, (4) each of the bolts, washers and locking nuts needed to attach the legs, and wood putty. We were able to dip into our collection of screws from various other projects to complete the haul.

 Here is a picture of the boards in the foreground, legs in the background, and that pile of crap behind all of it is the normal state of our garage... :/

 Aha! We found the hole. The single hardest piece of the project, and something we couldn't have gotten done without help. It is not hard to cut a 6" diameter hole in plywood; it is deceivingly difficult to cut a round, clean hole. With the help of Bill, Jen's dad, and Jen's dad's woodshop, two holes were routed, cut and sanded in a little over 1-1/2 hours. We also used the table saw to rip the 2x's into 3" rectangles for a clean connection to the top. Thanks guys!

Next step was cutting down the legs, aligning them to the top, and clamping. The sawhorses were invaluable to keep our new projects off the floor and off of our other half-done projects. In the background, you can see the second board in progress; we created two to allow us to toss the bags, collect the bags, then turn, and toss the other way. 
We are L-A-Z-Y.
Because we made our tops out of 1/2" ply, we added a cross member to the middle to prevent flexing when the 1 lb bags hit them. 
Assuming, of course, we get good enough to hit them!

 After we screwed together the frame, it was time to attach it to the top. Bill's board used pocket screws so as to not penetrate the top surface. We aren't THAT intense, so we countersunk the screw heads from the top... once we made yet another run to Home Depot to buy a countersink bit, that is.
Here you can see Fenn in the foreground helping mount the screws and measure. He can do more than just paint!!

Here is a close-up of the top, with countersunk holes every 9 inches. You can see how clean the hole looks from this view; proof that it was not done on our own. 

The next step was to cut the legs, round the top ends so they could rotate, and mount to the underside of the frame with the bolts. 

Finally!! Now we were able to take them out for a trial run with our new bags! (post to follow)

Thursday, August 30, 2012

Fabric Flower Pin

We found this craft idea on Pinterest and immediately got super excited! I love crafts. My mother made lots of crafts with us when we were kids. I guess I caught the bug!

Dahlia fabric pin

I first started with some colored felt cut into 3 different sizes of squares. The sizes were roughly 1.5" square, 1.25" square and 1" square, but please refer to the link above to check.


Then create petal shapes out of the squares. A point at the top, rounded sides and a flat bottom.


Next, place a dot of fabric glue into each corner of the flat edge and fold in to create the individual petals.

For the base, cut out a circle of cardboard, a matching circle of felt and another circle of felt about 1/4" to 1/2" larger all around. Glue the larger felt to the center of the cardboard and wrap the edges around the sides. Take the remaining felt circle and glue over the remaining exposed cardboard.


Once you have the base set, start gluing the petals to the base starting with the larger petals on the outside edge. I kept the pattern simple, working my way in with smaller and smaller petals.


Largest petals on the outer ring. Be sure to glue down firmly.


Next ring of petals are slightly smaller. The overlapping petals can hide glue imperfections.


The final or smallest ring of petals will leave a small empty circle in the middle of the flower. I filled it with a rolled piece of felt. Cut a small strip of felt. Be sure that the rolled size will fit inside the leftover space. On one side of the long length of the strip, I cut diagonal lines creating a jagged "tooth" look. Roll the strip up and glue closed, then glue down to the center of the flower. 


VIOLA! Sew a pin or a barrette to the backside of the flower and you are good to go! Beautiful!


Try experimenting with different colors and sizes! 
Have fun!

Tuesday, August 21, 2012

A Few Months Later...

In a few months time, we had quite a bit of growth starting in our garden. Before some of the plants got too big, we wanted to put up some frames for them to grow on. The tomatoes, peas, green beans and even the cucumber all require a bit more growing room, so why not grow upwards?!


We have been attending a few free gardening classes at the OC Great Park this summer and picked up a few tips. Some cheaper tomato frames can be made with steel frames and rebar from your local hardware store. We soon discovered that the tomatoes need frames on all sides of the plants. They reached nearly 8 feet in the air!


The cucumbers needed smaller frames, something to climb all over. When the fruit start, tie them up with old pantyhose to the frames. They will stretch as the fruit grows.


We learned that butternut squash needed alot of room to creep and crawl.


Even just two plants needed more than 6 square feet of space that we had given it.


Peas especially needed some vertical frames. They really wanted to reach for the sky! We were very surprised to see any peas this summer, since they are more of a winter vegetable. We just got a little overzealous with the "companion planting".


The radishes, lettuce and spinach did initially well in the wall mounted gutters but the heat of this summer stunted and wilted the plants after a few weeks. We plan on moving the radishes and lettuce into a movable planter box that we could place into the shade.


The basils in the back planter really went gang-busters once we got them into the ground. We had to be out there twice a day to pluck off the flowers from all three plants. We should have left it to just one in the end. We have made alot of pesto without even making a dent in these plants. One of our friends is getting a free basil plant sometime soon!


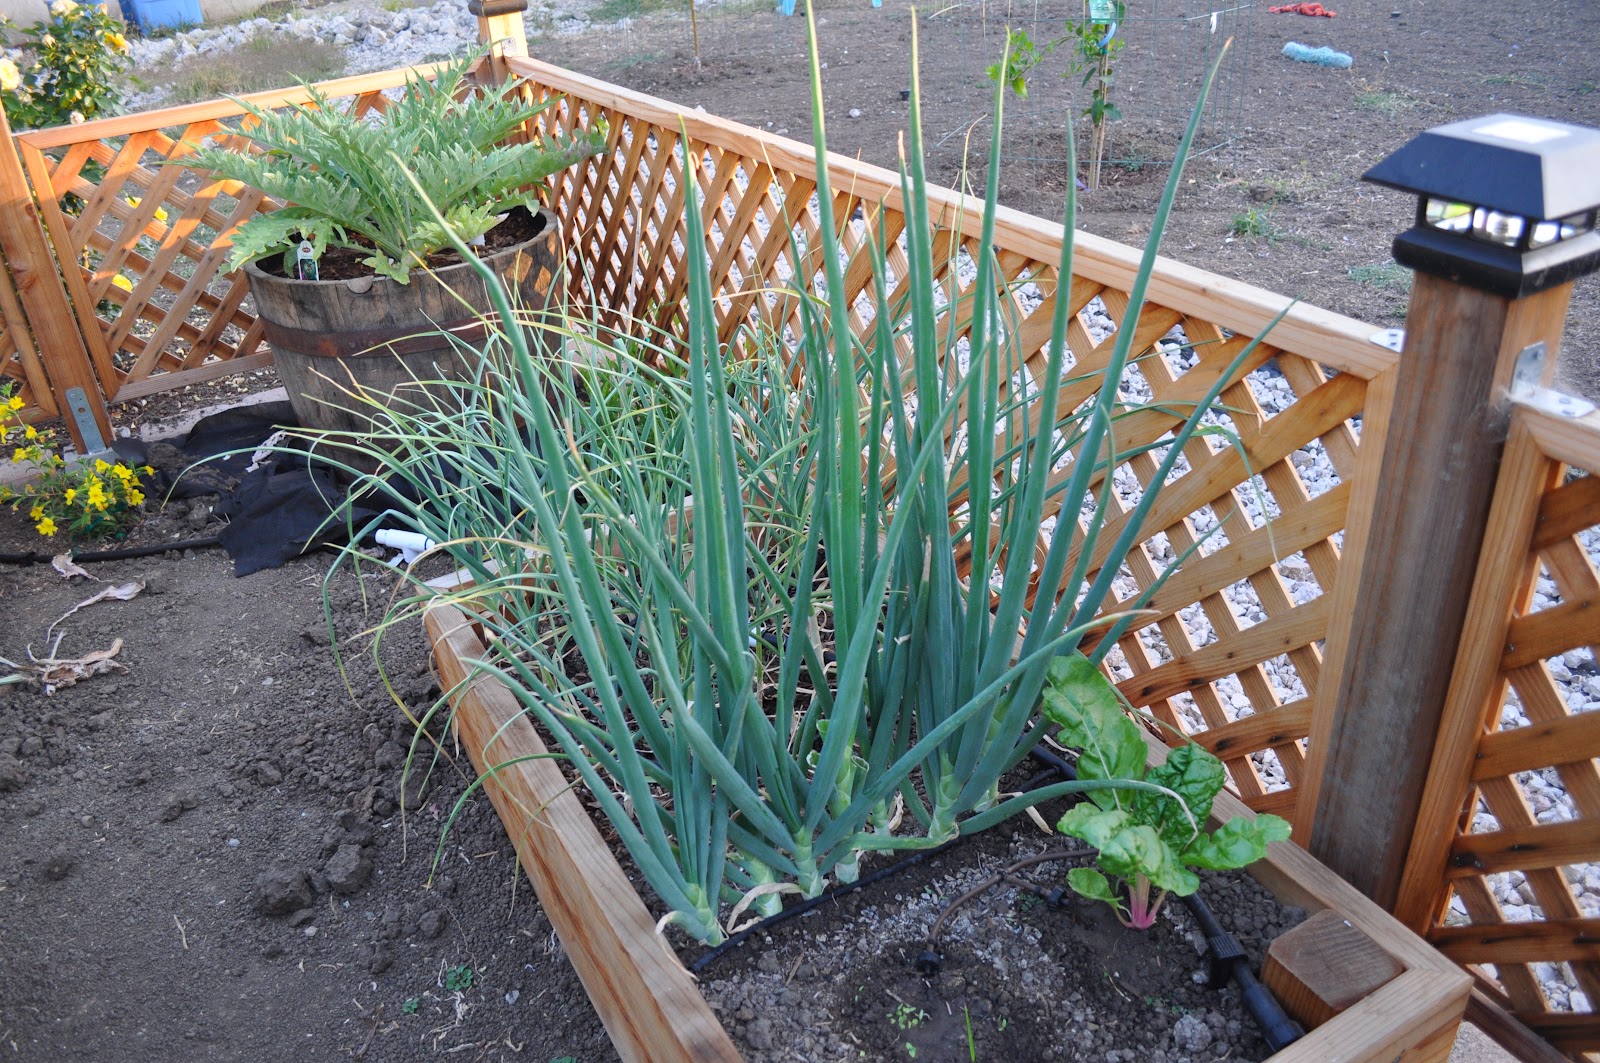
One last tip: green onions can be planted directly into the ground from the store and trimmed when needed. Though as a warning, they get HUGE! If you don't want to plant them in dirt, you can also place them in a glass of water on a window sill.

Hope some of these small tips can help with your garden! Goodluck!