While attending a housewarming party at our next-door neighbors, Bill and Jen's, we were introduced to one of their favorite backyard games. Though also called bean bag toss or baggo, the game most popularly called "cornhole" seemed simple enough. Once we started playing, we realized it is both more challenging than we originally thought, and alot more fun.
Let me guess; you're thinking: "Why is it called cornhole..?" Yeah, that was our first question too. It's because you throw bags filled with corn towards a single hole in the board. Get it?
The game originated as a tailgate activity, and because it is not yet popular here in Southern California, the boards are only available online, and for several hundred dollars (plus shipping) to boot. You may have figured out by now what that means; another project!! Like Bill, we decided playing with pre-made boards was nowhere near as rewarding as making your own, so here we go...
The first step was collecting and purchasing the list of hardware. That meant (2) 24"x48" plywood boards, (4) 2x4x8' members for the frame and legs, (4) each of the bolts, washers and locking nuts needed to attach the legs, and wood putty. We were able to dip into our collection of screws from various other projects to complete the haul.
Here is a picture of the boards in the foreground, legs in the background, and that pile of crap behind all of it is the normal state of our garage... :/
Aha! We found the hole. The single hardest piece of the project, and something we couldn't have gotten done without help. It is not hard to cut a 6" diameter hole in plywood; it is deceivingly difficult to cut a round, clean hole. With the help of Bill, Jen's dad, and Jen's dad's woodshop, two holes were routed, cut and sanded in a little over 1-1/2 hours. We also used the table saw to rip the 2x's into 3" rectangles for a clean connection to the top. Thanks guys!
Next step was cutting down the legs, aligning them to the top, and clamping. The sawhorses were invaluable to keep our new projects off the floor and off of our other half-done projects. In the background, you can see the second board in progress; we created two to allow us to toss the bags, collect the bags, then turn, and toss the other way.
We are L-A-Z-Y.
Because we made our tops out of 1/2" ply, we added a cross member to the middle to prevent flexing when the 1 lb bags hit them.
Assuming, of course, we get good enough to hit them!
After we screwed together the frame, it was time to attach it to the top. Bill's board used pocket screws so as to not penetrate the top surface. We aren't THAT intense, so we countersunk the screw heads from the top... once we made yet another run to Home Depot to buy a countersink bit, that is.
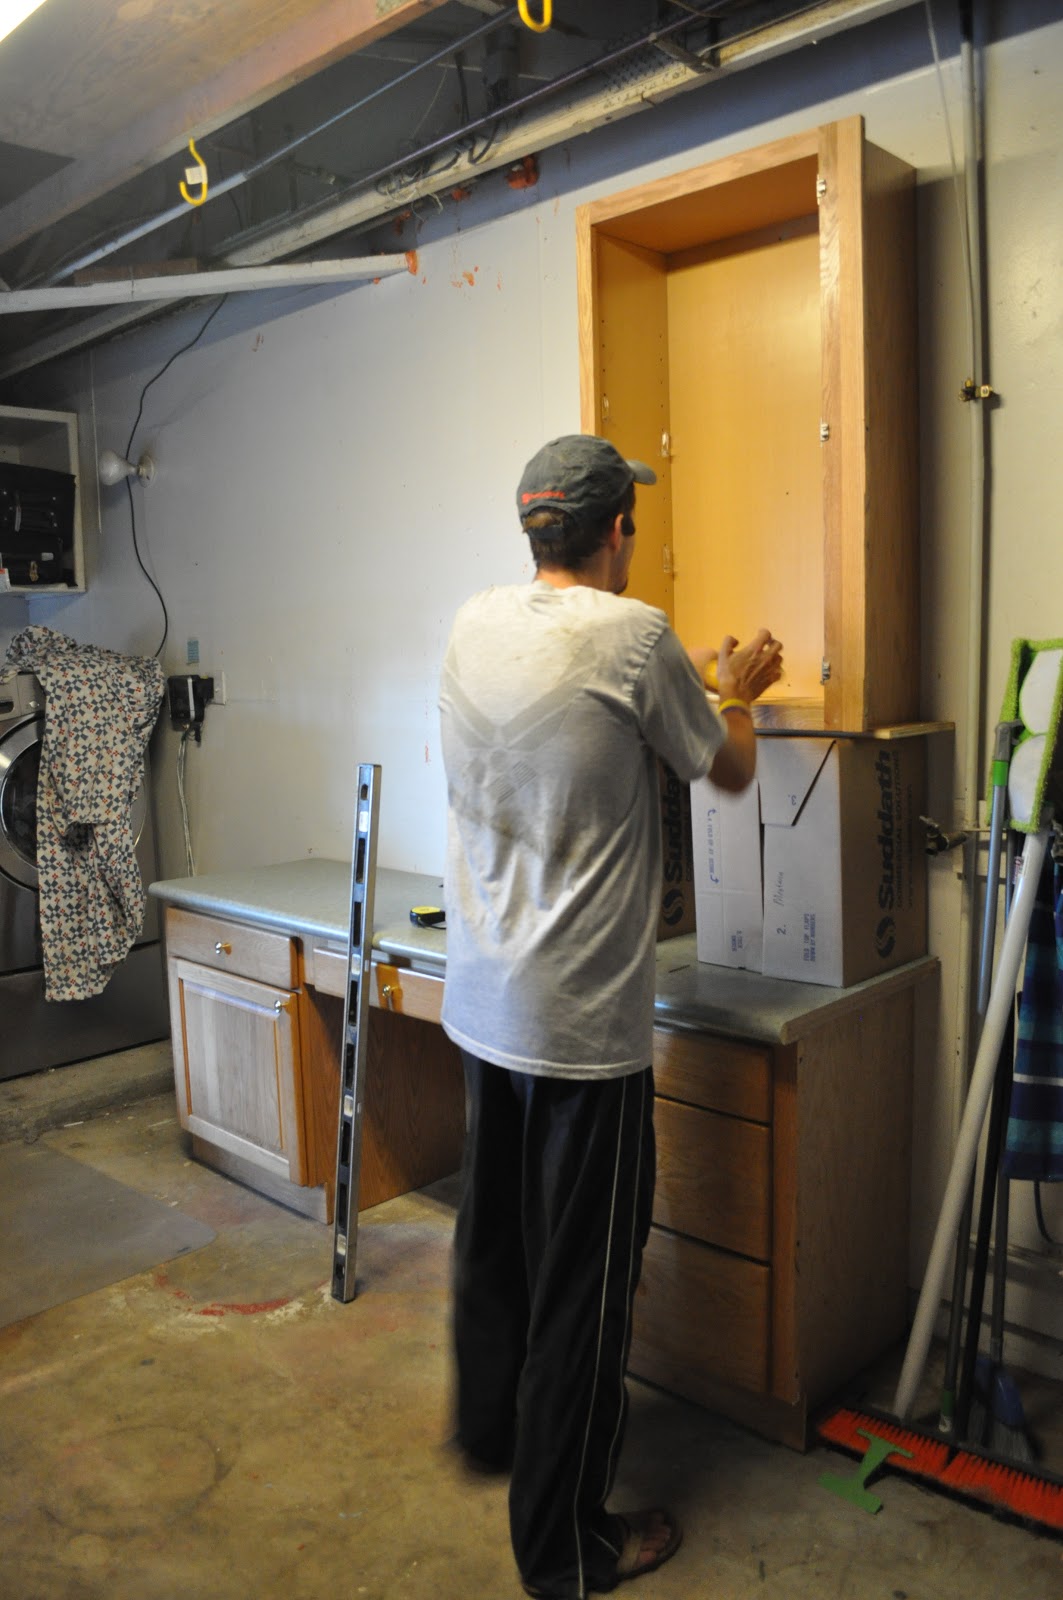
Here you can see Fenn in the foreground helping mount the screws and measure. He can do more than just paint!!
Here is a close-up of the top, with countersunk holes every 9 inches. You can see how clean the hole looks from this view; proof that it was not done on our own.
The next step was to cut the legs, round the top ends so they could rotate, and mount to the underside of the frame with the bolts.
Finally!! Now we were able to take them out for a trial run with our new bags! (post to follow)