I bought my Kitchen Aid mixer when I was about 12 years old.
It was the day after Christmas and I had a coupon and a mission.
It is one of those plain white ones with the front attachment for all those great extras (meat grinder, pasta press, etc.). If I bought it today, it would be a lot more colorful. Maybe like this one...

It is all kinds of awesome! Right?
I love cooking, something I picked up from my parents and grandparents and that Kitchen Aid mixer was always one of my prized possessions.
So it was inevitable that my mixer would take up permanent residence on the kitchen counter in our home. The only issue was that being so close to our stove (that gets used just about every night) made sure that there was grime over it all the time.

Plus, with all the attachments that we have for it, it was not very pretty to look at. Very disorganized looking, plus all the grease and grime that got on it made sure that we would have to wash them twice every time we had to use them (once before and once after).
I hate having to wash more dishes...
But who does?
First we had to select a fabric. Something timeless, classic and blue to match our kitchen walls.

Then we had to square up the fabric. A square is really useful for this, though ours is not quite big enough for this large piece of fabric.

We used the pattern and a straight edge to even everything out. Though don't be discouraged if it is not totally straight. Not all fabric prints are printed entirely even. Ironing will help.


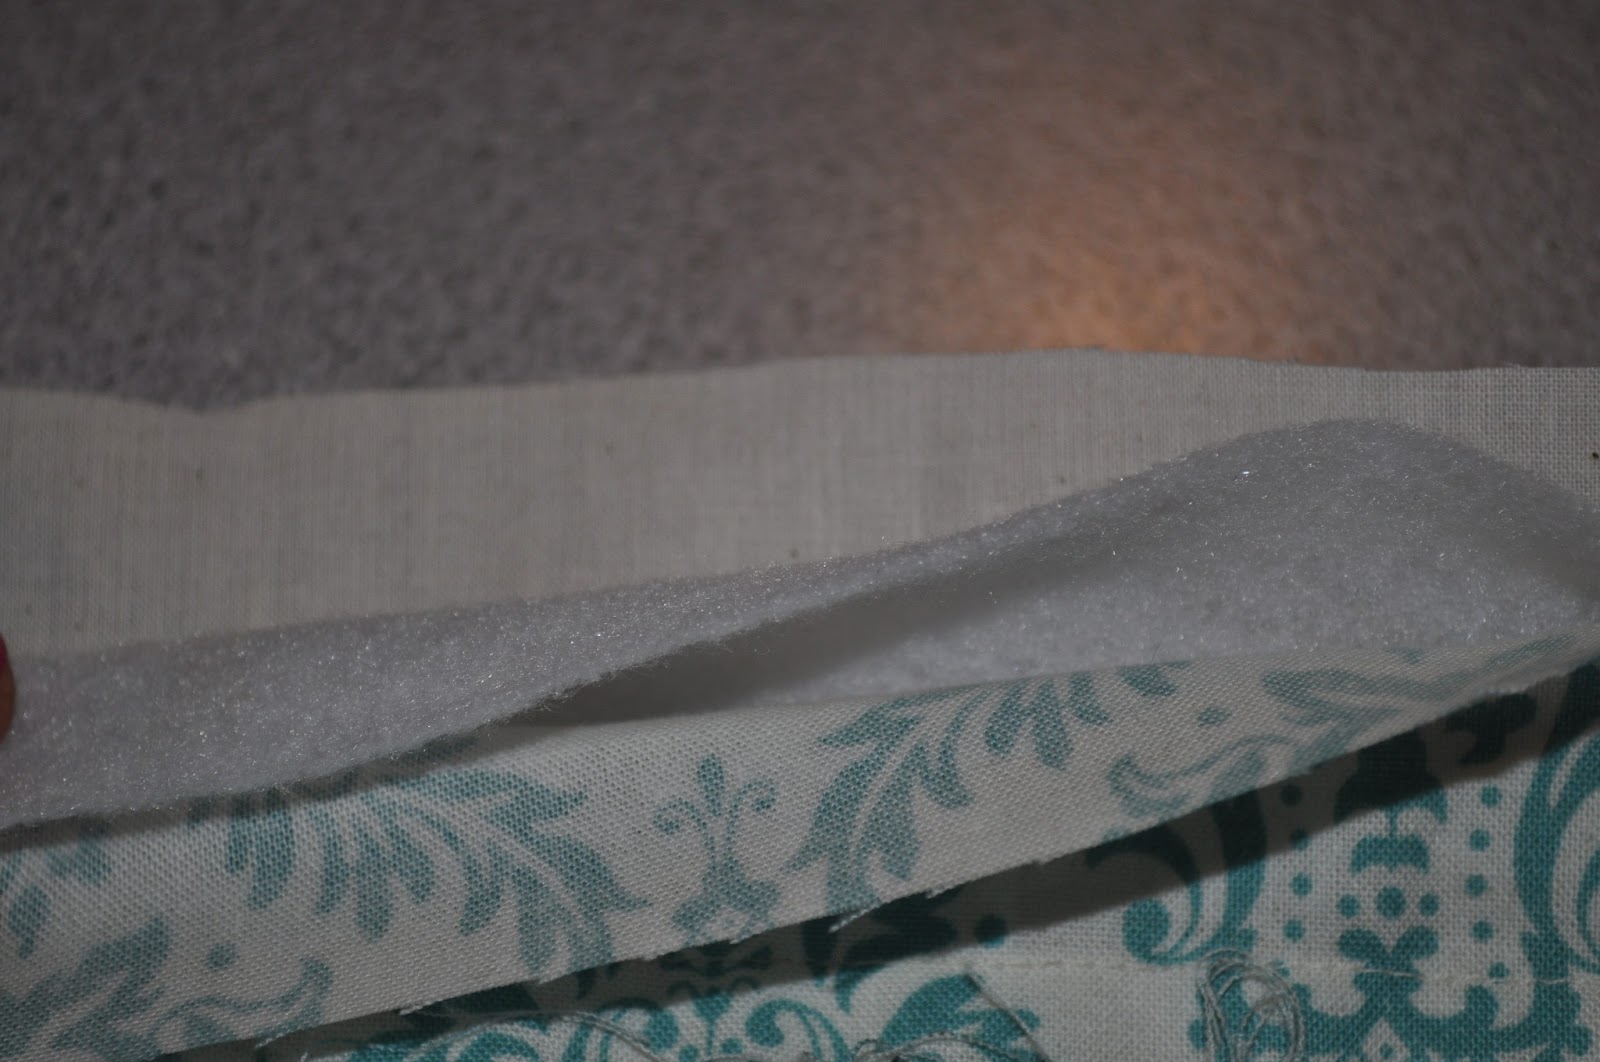
The patterned fabric is the outside material; what you will look at everyday. The inside material is just a simple muslin, something easily washable. To give the whole thing some stiffness we went with some thin batting between the two fabrics. We did not want the whole thing to sag too much.
The basic shapes for the construction of the cover consisted of two squares and two rectangles for the ends with rounded tops. We based them off of the dimensions of my mixer allowing for a quarter inch all around for a clean edge and for attaching them together.

Each piece was squared up and pinned together with all three materials. I then buzzed all the edges together with white thread on my sewing machine making the four shapes into panels.

I then pinned the matching edges of the panels together and started buzzing them together. I would pin the straight edges together first and then pin the rounded tops in sections to get the curve right.

Once all the panels are pieced together you can try the size out on the machine itself. Mine was a bit short of the base, which worked pretty well for us. The last touch was to pin up the bottom edge to even it out and cut off the excess material.

And viola! Fin. Belissimo!


So beautiful! And now we can at least look a little like we are a little bit organized.
Baby steps...
Great information provided. I appreciate your work. I like the way you write. Awesome, keep it up.
ReplyDeleteCar Parking Shades in Ludhiana
Walkway Covering Structure in Ludhiana
Car Parking Shades in Ludhiana